Sometimes, you may come across a situation where you lost root password of your linux machine. The mission is, you have to reset the root password safely and quickly.
The method, you have to follow in RHEL 7 is different from RHEL 6.
I tried different steps mentioned in redhat tutorial and different blogs. Most of them suggest "autorelabel"( to relabel all system files) of selinux context. Yes, that is a good method but it can take a lot of time depending on the size of your partitions.
So, here is a method, which I consider as simple and quick.
Before, starting a point to be mentioned is that, the Selinux is in enforcing mode in my server.
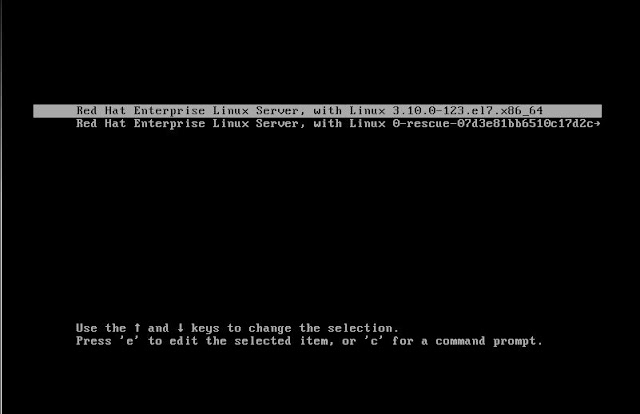
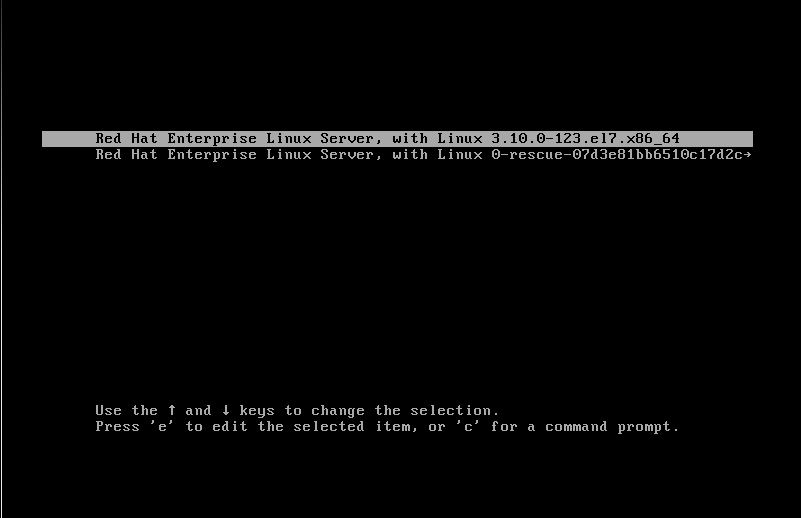
STEP 1: When the system starts booting use "esc" key to interrupt the booting process and you will get a screen as below:
STEP 2: Press the key "e" to edit and you will get a screen as below.

STEP 3: Navigate to the line starting with "linux16" and remove "rhgb quiet" line. These parameters are removed inorder to enable system messages.


The method, you have to follow in RHEL 7 is different from RHEL 6.
I tried different steps mentioned in redhat tutorial and different blogs. Most of them suggest "autorelabel"( to relabel all system files) of selinux context. Yes, that is a good method but it can take a lot of time depending on the size of your partitions.
So, here is a method, which I consider as simple and quick.
Before, starting a point to be mentioned is that, the Selinux is in enforcing mode in my server.
STEP 1: When the system starts booting use "esc" key to interrupt the booting process and you will get a screen as below:
STEP 2: Press the key "e" to edit and you will get a screen as below.

STEP 3: Navigate to the line starting with "linux16" and remove "rhgb quiet" line. These parameters are removed inorder to enable system messages.

STEP 4: At the end of the line enter the below parameter:
-----
rd.break enforcing=0
-----
Explanation:
----------
enforcing=0---> will prevent the time consuming in relabeling SELINUX contexts.
rd.break---> By using this parameter, initramfs will stop before passing control to Linux kernel.
-----------

Press "Ctrl+x" to boot the system.
STEP 5: Once the prompt appears, use the below command to mount "/sysroot" in "rw" mode.
-----
mount -o remount,rw /sysroot
-----
Chroot to /sysroot as below:
-----
chroot /sysroot
-----
Then reset the password using "passwd" command". Then mount "/" in "ro" mode.
-----
mount -o remount,ro /
------
Then use "exit" two times to exit from chroot shell and to resume the system boot process.
Summarized in below snapshot.

STEP 6: Once the login prompt appears, login with new password. Enter the following command to restore the /etc/shadow file's Selinux security context.
-----
restorecon /etc/passwd
-----
Once done, turn on selinux and confirm it is enabled.
Summarized in below snapshot:

Kool :)
No comments:
Post a Comment
Note: only a member of this blog may post a comment.